

Peloton Tread+ owners may be experiencing a significant bug in which they are unable to start classes on their device. Note that this issue currently appears to only be affecting the Tread+ – not the basic Tread.
Over the past day or so, some Tread+ owners have reported that they are unable to start classes – whether live or on-demand – on their device, meaning that they are essentially unable to use the product at all. They must move to the digital app, the web browser, or another hardware product (if they own one) in order to start and take a Peloton class.
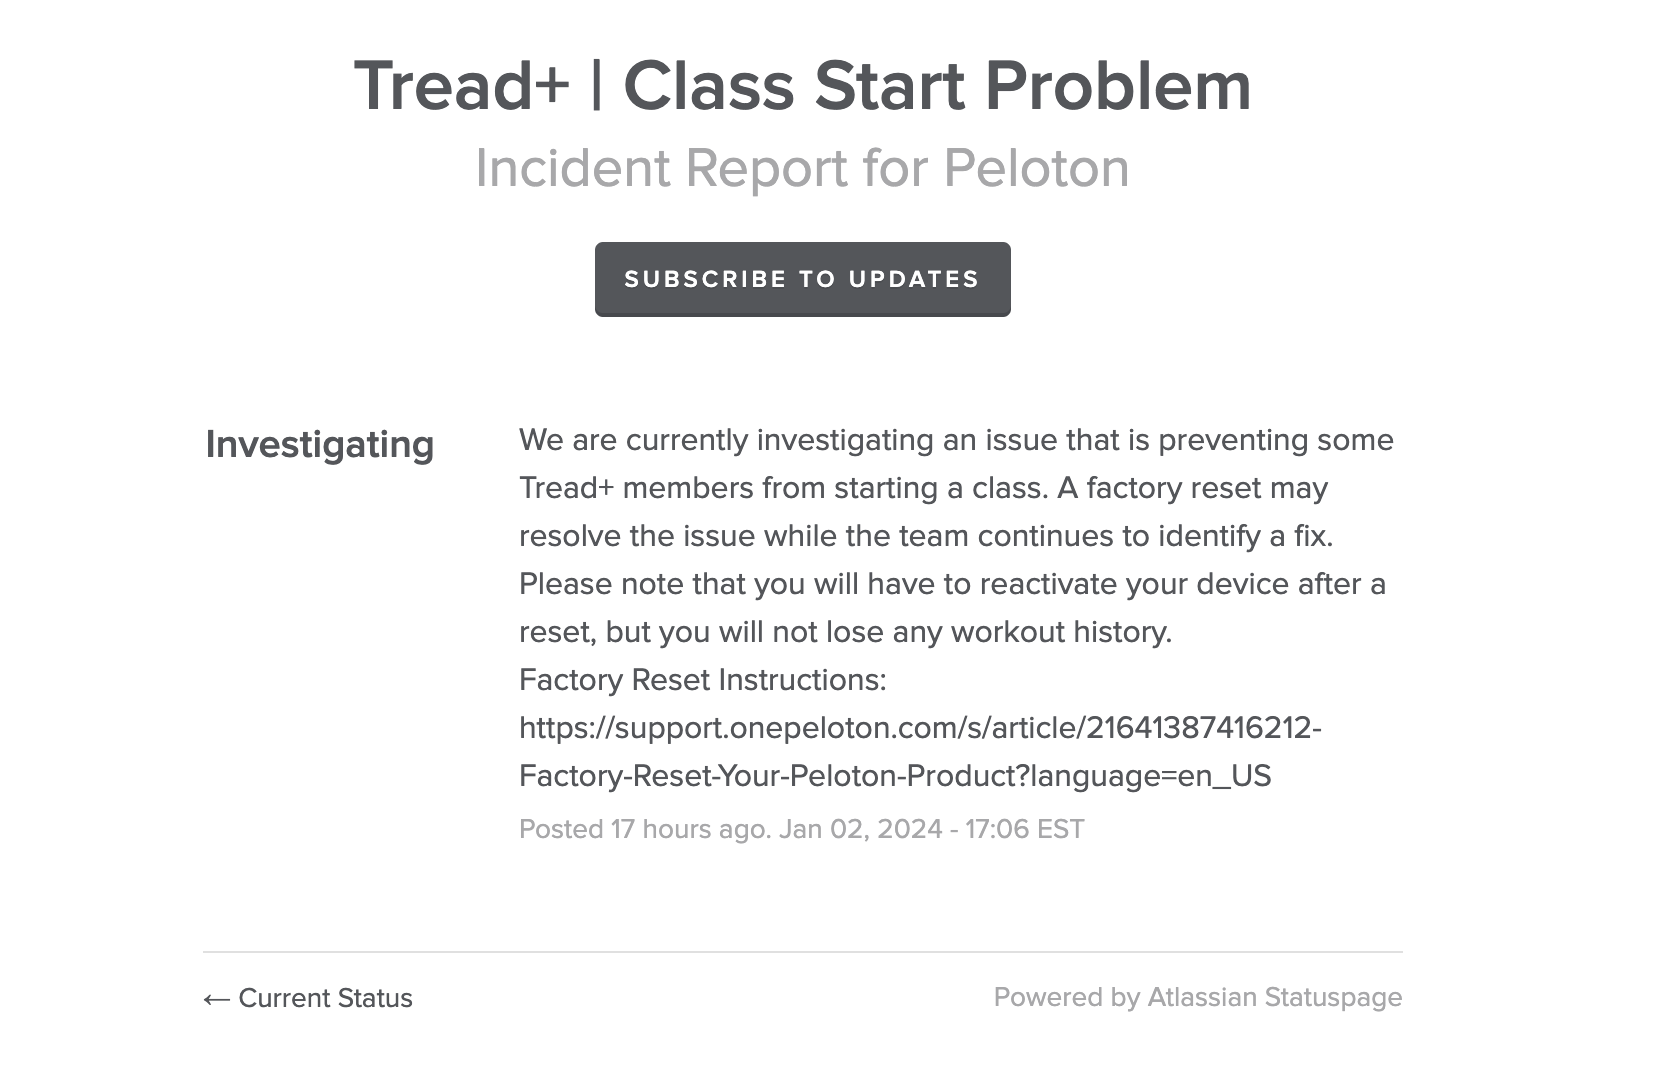
On January 2, 2024 Peloton created an official incident report on the status page:
We are currently investigating an issue that is preventing some Tread+ members from starting a class. A factory reset may resolve the issue while the team continues to identify a fix. Please note that you will have to reactivate your device after a reset, but you will not lose any workout history.
As of publishing time Peloton has not provided a timeline for a potential fix for the issue. In the meantime, Tread+ owners are advised to perform a factory reset. The full instructions for how to perform a factory reset can be found at the bottom of this article, as well as via the Peloton support page. Note that performing a factory reset does not erase your profile, class history, or settings – you will simply need to log back into your device once the reset is complete. A factory reset may resolve the issue, but this is not guaranteed.
We will share updates on this issue as they become available. Have you experienced this bug with your Tread+ in recent days?
Factory Reset Instructions:
To perform a hard factory reset via recovery mode:
- Follow the power cable from the outlet to the front side of the Tread+ base to locate the power switch. Flip the red power switch off, behind the power cable at the base.
- Hold down the volume up button, located just below the touchscreen, and continue holding.
- Flip the power switch to turn the Tread+ back on while still holding down the volume up button. The best practice is to sit on the slat belt of the Tread+ base while reaching down to flip the switch on and holding the volume up button simultaneously.
- When the touchscreen is illuminated, release the volume up button.
- From here, navigate up and down with the respective volume buttons. Navigate to “Wipe Data/Factory Reset,” then press and hold either of the volume buttons until the color changes to select it.
- Use the volume buttons to navigate to “Yes.” Press and hold either volume button until the color changes to select it.
- The screen will return to the Recovery Menu and will show the Wiping Data progress at the bottom.
- Use the volume buttons to navigate to “Reboot System Now.” Press and hold either volume button until the color changes to select it.
Support the site! Enjoy the news & guides we provide? Help us keep bringing you the news. Pelo Buddy is completely free, but you can help support the site with a one-time or monthly donation that will go to our writers, editors, and more. Find out more details here.
Get Our Newsletter Want to be sure to never miss any Peloton news? Sign up for our newsletter and get all the latest Peloton updates & Peloton rumors sent directly to your inbox.
You have listed the wrong hard reset instructions. The instructions you listed are for the tread, not the tread+. The tread+ instructions are farther down the peloton support page and don’t involve anything usb-c related as the tread+ doesn’t have usb-c.
Updated, thanks.